For Christmas this year, I put together a little "take care of yourself" Brion bag for all my girls. There was handmade organic vanilla sugar scrub; handmade organic peppermint lip balm. There were candles (less homemade) and a handmade soothing peppermint eye pillow/muscle relaxer.
This tute is quick. Making these little eye pillows is super easy breezy and so totally worth it! They can be used as-is for a soothing rest-for-the-eyes or warmed up for a few seconds in the microwave for a little relax pack on a sore neck or back.
Added bonus: no measuring tape required! (I'm so bad with measuring)
Let's begin!
Step one: Find an adorable kitten who thinks she's way more helpful than she actually is. Removing her from your sewing table (repeat as necessary):
 | ||
| Meow can helpz sew? |
Step 3: Cut the fabric and liner material into a rectangle. Make sure that it'll be wide enough for you to turn right side out a couple of times.
Step 4: Using a zigzag stitch, sew the liner to the back side of the fabric by sewing three sides together. Leave one of the short ends open:
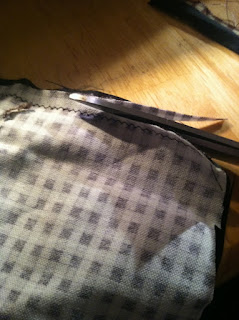
Step 5: Trip off the excess above the seams. It'll make a smoother finish when you turn the pouch right side out:
Step 6: Turn the pouch right side out:
Step 7: Fold the pouch in half, right sides facing together (your liner material should be on the outside) and, starting from the raw end side, sew three sides together, leaving one short end open to turn the tube right side out:
Step 8: Turn the tube right side out:
Step 9: Top stitch the closed end for that little decorative flair (added bonus, it acts as an extra closure so there's no rice leakage):
Step 10: Fill it with rice to desired stiffness. If you want a looser feel to the pillow, use less rice. About half-way through filling the tube with rice, add a few drops of your essential oil. When you're done filling the rice, sort of shake the tube around to spread out the essential oil more evenly:
Step 11: Top stitch the open end (probably best to do it a couple of times, just to make sure there's no rice leakage) and Voila! You have an eye pillow!


No comments:
Post a Comment